Creating the Custom Tables
Follow the below steps to create a Custom Table:
1) Click on the Custom Tables tile in the Workflow and Automation section of the Configuration Area.

2) Now, the Custom Tables list view page opens.

3) Click on the +ADD option from the list toolbar, as shown in the below screen.

4) The Custom Table full-page dialogue opens as shown below.

5) Enter the valid name in the Custom Table Name field.
Note: The custom table name should be unique without any special characters and it does not allow you to repeat the same name with any of the tables in the PaperSave. If the entered custom table name had a space, then in the database the space is replaced by underscore.
Entered name: Account Information
Database stored name: Account_Information

6) Click on the + ADD COLUMN option from the list toolbar.
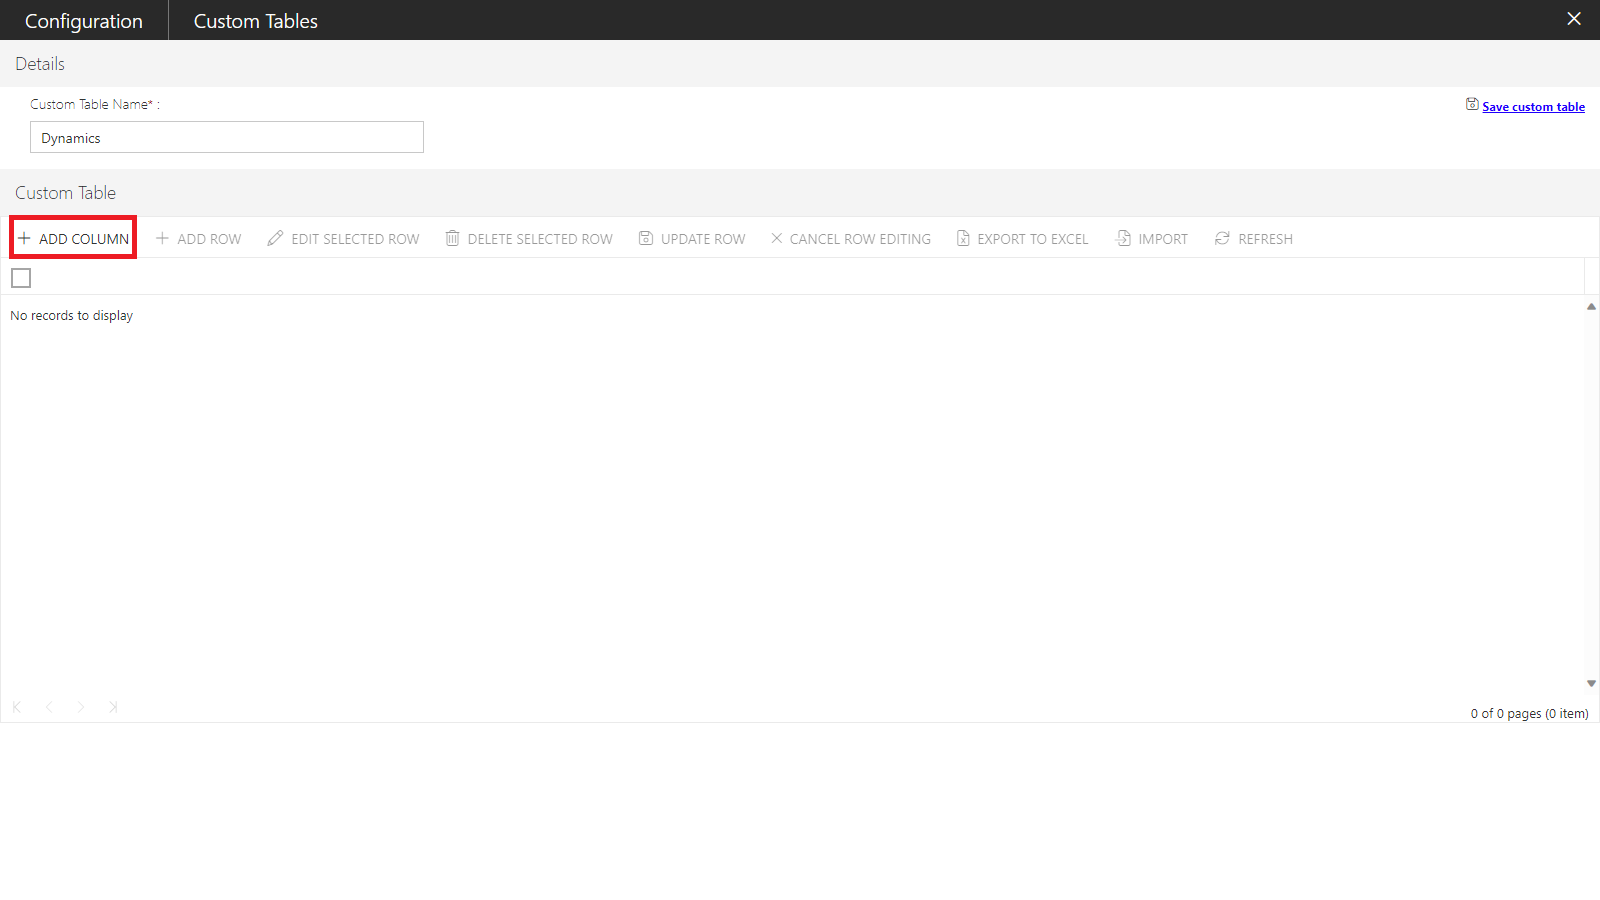
7) Now, enter all the required details and click on the Add button as shown below.
a) Column Name: Enter the valid column name.
Note: The column name text box allows you to enter only 30 characters, column name should be unique without any special characters, it does not allow you to repeat the same name for the columns within the Custom Tables. If the entered column name had a space, then in the database the space is replaced by underscore.
Entered name: Invoice Date
Database stored name: Invoice_Date
b) Column Type: This drop-down field has four options i.e., String, Number, Date and Users.
- String: Select “String” if you want to keep the type as a string field.
Note: The string column type text area allows you to enter only 120 characters
- Number: Select “Number” if you want to keep the type as a numeric field.
Note: The number column type allows only 13 values including with four decimal values.
- Date: Select "Date" if you want to keep the type as a date field.
Note: The format of the date is displayed as per the format you have set.
- Users: Select “Users” if you want to keep the type as User from the drop-down list.
Note: If you keep any column blank while adding the row, then it stores the values as Null in the database for that row in that column.

8) Click on the + ADD ROW option from the list toolbar, as shown in the below screen.

9) Now, fill in the details of the row and click on the UPDATE ROW option from the list toolbar to save the entered value in the row or click on any blank area of the grid.

Note: If you try to save the blank row, a notification appears on the screen as shown below.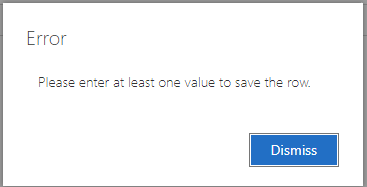
10) To add more number of rows, you can import rows by clicking the IMPORT option from the list toolbar.
Note: The import option is enabled only, when at least a single column is defined in a Custom Table.

Note: The import option allows you to import the data from the .CSV file. Refer to this page to learn more.
11) Now, click on the Save Custom Table as shown below.

12) A success/failure message will appear in the top-right corner of the screen.

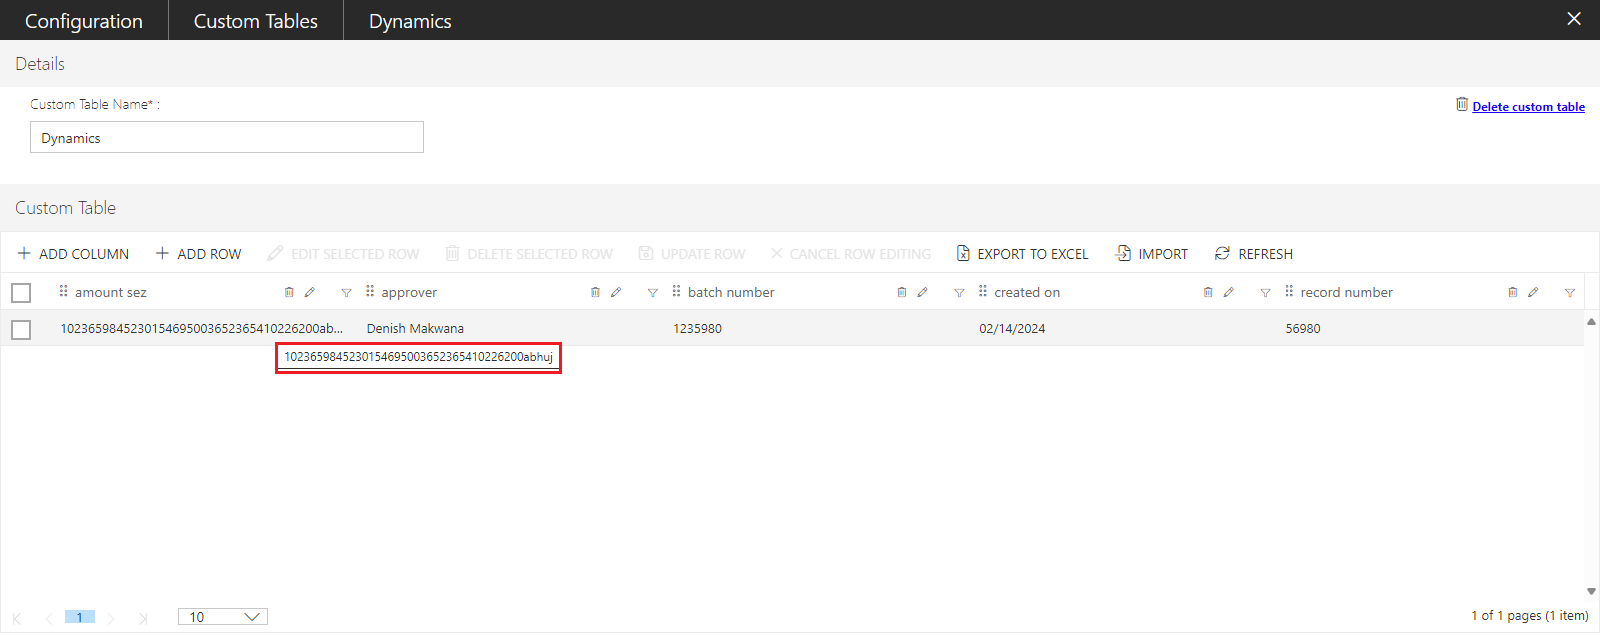
Tip: A tool tip is displayed with the whole value entered in the string type column, when you hover the mouse on it as shown below.